How to Do French Tips at Home: Four Ways to Get a Clean Smile Line
The entire French manicure is a single curve, drawn ten times. Choose the method that suits your hands, not the one in the tutorial.
by Haider Ali5 min readupdated september 17, 2026
in this guide
Every French tip on this site, from the barely-there Micro French to the Chevron French, is the same problem: put one clean curve at the tip of the nail, then do it nine more times so they match. Colour is easy. Base is easy. The line is the manicure.
The good news is that there are four ways to make the line, and only one of them needs a steady hand. Pick by your hands and your nail shape, not by which one the tutorial happened to use.
Before the line: base and shape
Two decisions before you touch white.
Base. Cure a sheer pink, a milky white or a sheer nude first. The base sets the mood: a bare nail under a white tip is the 1990s version; a milky base like the one under Milky Base White French is the version everyone is wearing now. It also hides imperfections in the natural nail that a stark tip would highlight. Two thin coats, cured.
Shape. The shape decides how curved the line has to be, and therefore how hard it is. On a square or squoval nail, the free edge is nearly straight and so is the tip line: easiest. On a round or almond, the line follows a curve: medium. On a coffin, the line is straight across but the sidewalls taper, so the corners need care. On a stiletto, the "tip" is a deep V: hardest. The shapes guide has the details.
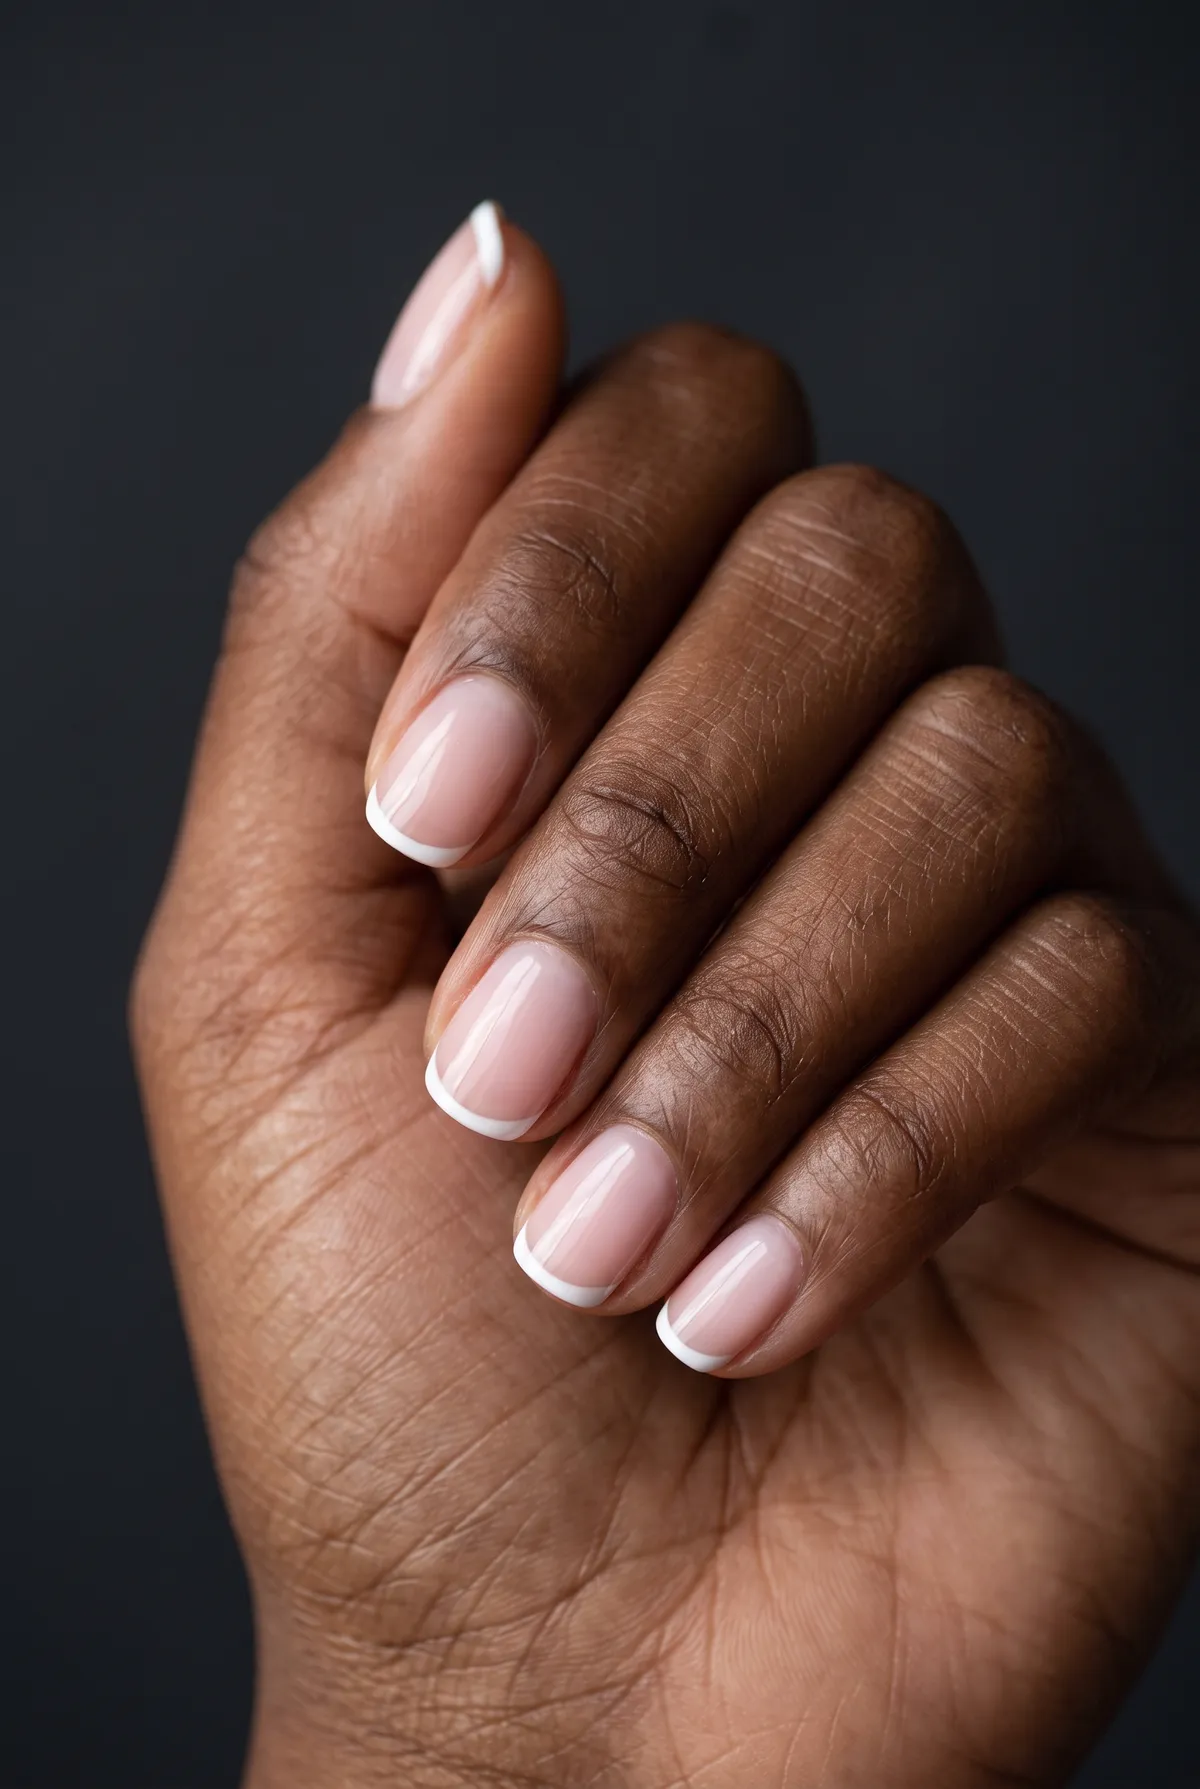
Method 1: freehand with the bottle brush
The way techs do it, and the hardest. Wipe most of the white off the brush, touch the tip of the brush to one sidewall at the depth you want, and pull across in one movement, letting the curve of the free edge guide you. Cure. Second coat the same way for opacity.
Suits: square and squoval, where the line is short and flat. Anyone who has done it before.
Fails: almond and round on the first try, because the curve wants to wander. If you are determined, do it in two strokes, one from each sidewall meeting in the middle; the meeting point is easier to clean than a whole wandering line.
Method 2: a striper brush
A long thin brush that holds a thread of colour. Instead of dragging a wide brush, you draw the line with the striper the way you would draw with a pen, then fill the tip in with the bottle brush. The striper is also how a Gold-Line French or a Double Line French is drawn: a thin line where a bottle brush would blob.
Suits: almond and round. Micro French on any shape. Anyone with a steady hand who is bad with a wide brush.
Fails: if the striper is overloaded. Wipe it until it holds a thread, not a drop.
Method 3: guide stickers or tape
Curved stickers stuck across the nail at the depth of the tip. Paint the white over the top, peel the sticker while the gel is uncured, cure. The line is exactly the sticker edge.
Suits: square, squoval and coffin, where the sticker lies flat across the nail. First-timers.
Fails: on strongly curved nails, where the sticker lifts at the sidewalls and the gel bleeds under it. Press the sticker down hard at both sides, and paint from the sticker toward the tip so you are not pushing gel under the edge. Peel the sticker slowly toward the tip, not straight up. With gel you have a real advantage over polish here: nothing dries, so you can wipe and retry before curing.
Method 4: stamping
A silicone stamper or a dedicated French tip stamp. Paint a strip of white gel onto a plate or onto the stamper itself, press the nail tip into it, clean the edge, cure. Every nail gets the same curve because the stamper does not have a bad day.
Suits: everyone. Every shape. Sets that need to match perfectly.
Fails: if the white is too thin; stamped tips often need a second pass for opacity. And the depth depends on how hard you press, so practice on one nail and press the same way on the other nine.
The cleanup trick that saves every method
The line does not have to be right the first time. It has to be right before you cure.
Keep a small flat brush and a dish of alcohol beside you. After you paint the tip and before the lamp, dip the brush, wipe it nearly dry, and run it along the underside of the white line in one stroke, pushing the edge into a clean curve. It removes wobble, thins a too-thick tip, and squares a corner. Then cure. Techs do this on every nail; almost no tutorial mentions it.
If the line is a disaster, wipe the whole tip off with alcohol on a lint-free wipe, let the base dry, and go again. Gel gives you unlimited attempts up to the moment you cure.
Getting ten to match
- Do the thumb last. It is the widest nail and the hardest; do the other eight first and copy the depth.
- Use the same reference on every nail: the tip depth as a fraction of the visible nail, not a fixed millimetre.
- Do the same method for all ten. A stamped tip and a freehand tip look different up close.
- Check pairs, not singles. Hold both index fingers together; if they match, move on.
Beyond white
Once the line works, the tip can be anything. Black on nude for a Black Micro French. Chrome for a Silver Chrome French, where you paint the tip in no-wipe top coat, flash-cure and rub the powder on (the chrome guide explains that step). Magnetic gel for Cat-Eye French Tips, where the magnet only affects the tip. A second thin line above the first for the double. A diagonal instead of a curve for a Diagonal French. The method is the same; only the colour in the brush changes.
Asking for it
At a salon, say the shape, the base ("milky", "sheer pink", "bare"), the tip colour and the depth ("micro", "thin", "classic"). "Short almond, milky base, micro white tip" is a complete order. The white French edit has thirty variations with the exact wording under each one.
Questions people ask
What is the easiest way to do French tips at home?
A French tip stamp or a silicone stamper: paint the white onto the stamper, press the nail into it, clean the edge. It gives a consistent curve on every nail with no freehand skill. Second easiest is guide stickers on a square or squoval nail, where the line is nearly straight.
How thick should a French tip be?
Proportional to the nail. On a short nail, a millimetre or two: the micro French. On a medium nail, roughly a fifth of the visible nail. Thick white tips on short nails make the nail look shorter; thin tips lengthen it.
Why does my French tip look wobbly?
The brush is being dragged through the line rather than the line being placed. Load the brush, touch it to one sidewall, and pull it across in one movement following the natural curve of the free edge. Two short strokes from each side meeting in the middle also work. Then clean the edge with a fine brush and a little alcohol before curing.
What base goes under a French tip?
A sheer pink, a milky white or a sheer nude, cured before the tip goes on. The base does more than people think: a milky base makes the white tip look softer and modern; a bare nail makes it look starker and older.
Keep reading
- the salon conversation
What to Tell Your Nail Tech So You Get the Nails in the Photo
- shape before colour
- wear and tear